If you’ve ever wondered how to plant garlic, you’re certainly not alone. This versatile and aromatic herb is a favorite among home gardeners and culinary enthusiasts alike, offering numerous health benefits and enhancing the flavor of various dishes. Moreover, planting garlic is not only a rewarding experience but also allows you to enjoy fresh garlic cloves straight from your garden, elevating your cooking while providing a satisfying sense of accomplishment.
In this comprehensive guide, we will walk you through the essential steps to successfully plant garlic. Specifically, we will cover everything from selecting the right garlic variety to preparing your soil and caring for your plants as they grow. Additionally, you’ll learn about the best planting times, ideal conditions, and effective tips for maximizing your garlic harvest. Whether you are a seasoned gardener or a beginner, this article will equip you with all the knowledge you need to cultivate delicious garlic in your own backyard.
Understanding Garlic Planting Depth and Spacing
Understanding the proper garlic planting depth and spacing is crucial for a successful harvest. Each factor contributes significantly to the overall health and yield of your garlic plants. Ensuring that you plant at the right depth allows the roots to establish effectively, while adequate spacing prevents overcrowding, which can lead to disease and reduced growth. Moreover, these two aspects work together to create an optimal growing environment for your garlic. Let’s explore both elements in detail to set you on the path to a thriving garlic garden.
Importance of Garlic Planting Depth
Garlic planting depth directly influences its growth and development. Typically, you should plant garlic cloves about 2 to 3 inches deep. This depth protects the cloves from temperature fluctuations and pests, which can be particularly damaging during the early stages of growth. Moreover, deeper planting can encourage stronger root systems, which are essential for nutrient uptake and overall plant vigor. For example, if you live in a region with harsh winters, planting closer to 3 inches may provide additional insulation against freezing temperatures. Conversely, if the soil is heavy or clay-like, planting slightly shallower can help prevent rot by ensuring better drainage. Consequently, it is vital to adjust your planting depth based on your local conditions and soil type to optimize growth and yield.
Optimal Spacing for Garlic Cloves
Spacing garlic cloves appropriately is another essential consideration for a successful harvest. Ideally, you should space the cloves 4 to 6 inches apart in rows that are 12 to 18 inches apart. This spacing allows each plant sufficient room to grow, ensuring they receive adequate sunlight and airflow, which are critical for healthy development. If garlic cloves are too close together, they can compete for nutrients and moisture, leading to smaller bulbs and increased susceptibility to diseases. Furthermore, if you’re planting multiple varieties, maintaining consistent spacing is crucial for uniform growth and easier maintenance. To illustrate, consider using a garden grid or marking the soil with stakes to ensure even spacing. For more details, check out Quick Garlic Growing Instructions for precise planting guidelines. Additionally, remember to incorporate essential habits for healthy garden plants to further enhance your gardening success, such as regular watering and mulching to retain soil moisture.
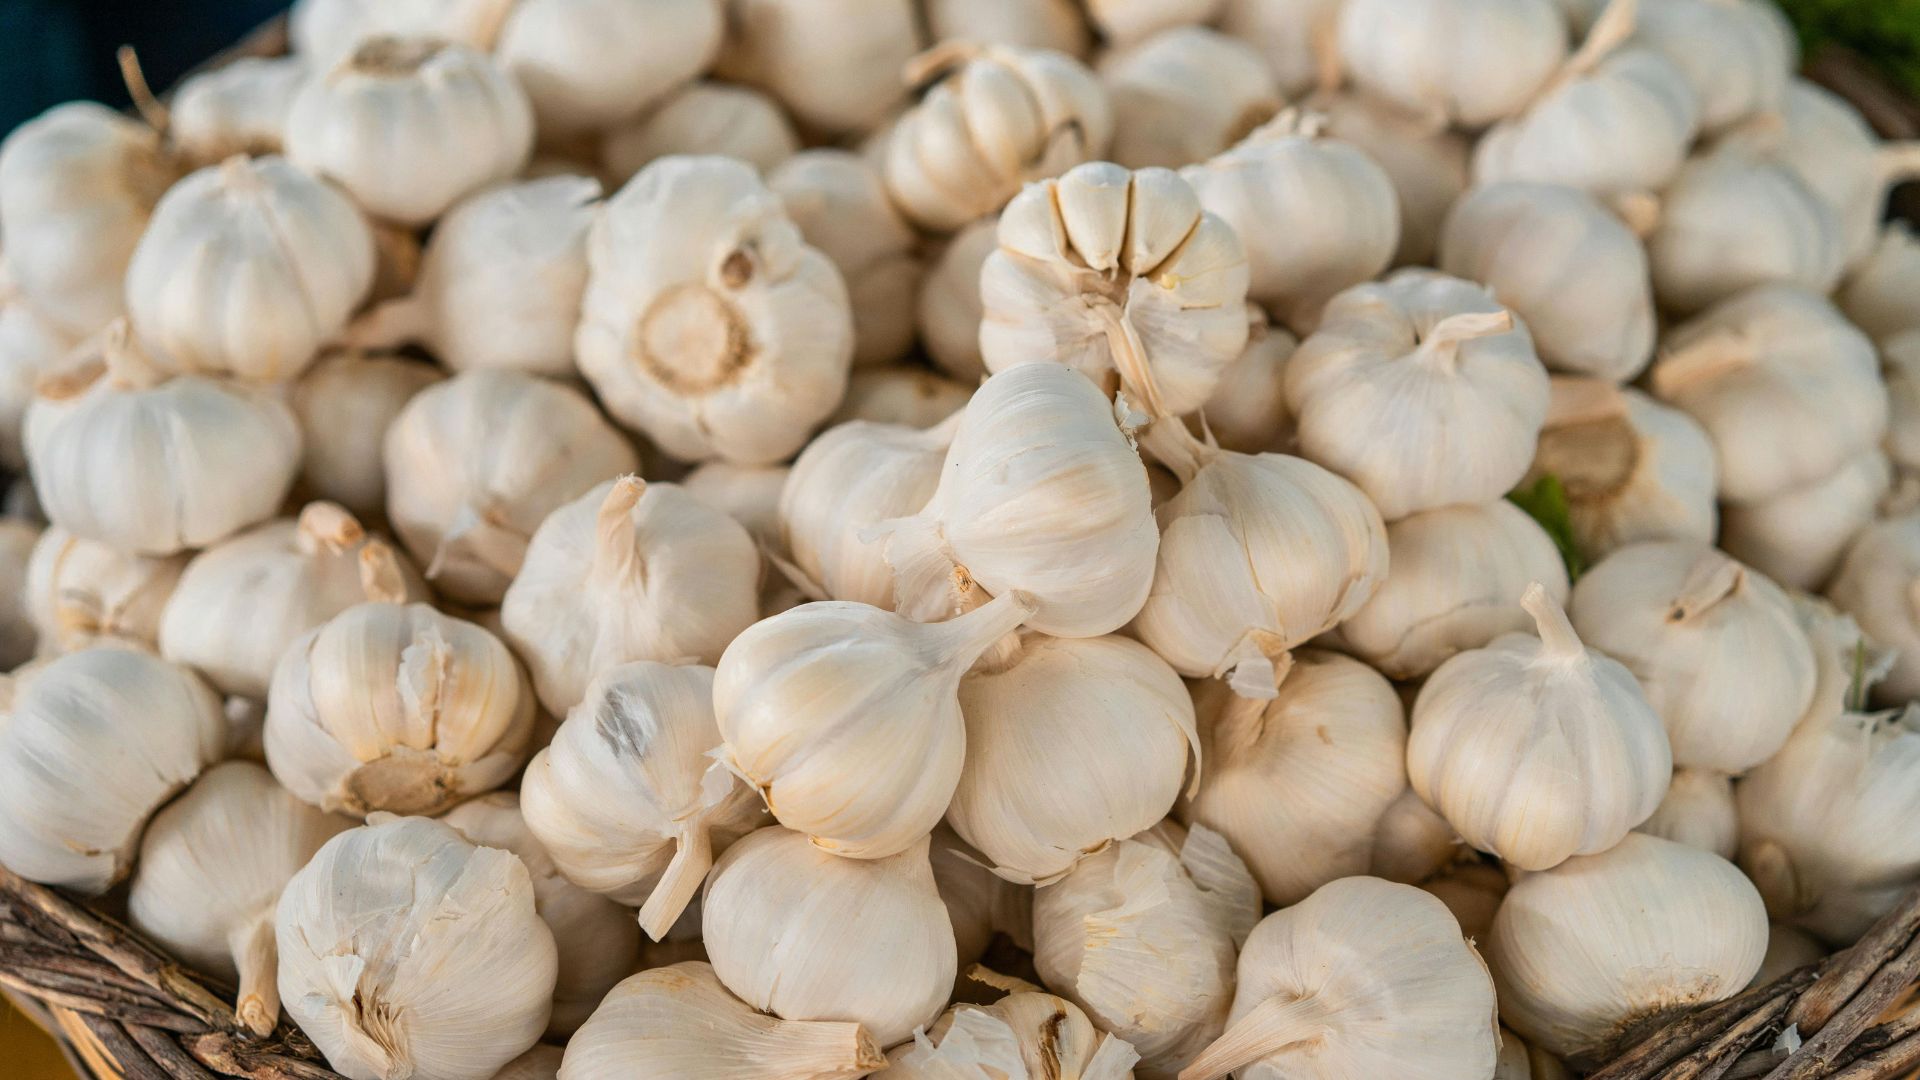
Comparative Analysis of Different Garlic Varieties
When it comes to growing garlic, selecting the right variety is essential to ensure a successful harvest. Different garlic varieties possess unique characteristics and planting needs, making them suitable for various climates and culinary preferences. In this section, we will explore a comparative analysis of different garlic varieties, focusing on their specific requirements and benefits. This information will guide you in making an informed choice that aligns with your gardening goals and enhances your culinary experiences.
Garlic Varieties Overview
Garlic varieties fall into two main categories: hardneck and softneck. Hardneck garlic, such as Rocambole and Porcelain, tends to have a robust flavor and is well-suited for colder climates. These varieties often produce scapes, which are edible flower stalks that can be harvested and used in various dishes. On the other hand, softneck garlic varieties, like Silverskin and Artichoke, are typically easier to grow and store well, making them ideal for warmer regions. Each variety comes with its own unique flavor profile and culinary applications, thus influencing your choice based on taste and cooking needs. For example, Rocambole is favored for its complex flavor, making it a popular choice among chefs.
Here’s a comparative table to help you understand the characteristics of these garlic varieties better:
| Garlic Variety | Type | Flavor Profile |
|---|---|---|
| Rocambole | Hardneck | Rich, complex, and spicy |
| Porcelain | Hardneck | Strong, robust flavor |
| Silverskin | Softneck | Mild, sweet, and subtle |
| Artichoke | Softneck | Well-rounded, versatile flavor |
Choosing the Right Variety for Your Garden
When choosing the right garlic variety for your garden, consider your local climate and the growing conditions. Hardneck varieties thrive in cooler temperatures and often produce scapes, which can be harvested for culinary use. Conversely, softneck varieties perform better in warmer climates and offer a longer shelf life, making them perfect for storage. Additionally, be mindful of your culinary preferences; for instance, if you enjoy strong flavors, hardneck types may be more suitable.
Furthermore, it’s important to assess your gardening space. If you have limited room, softneck varieties might be a better choice due to their adaptability and ease of cultivation. For successful garlic cultivation, ensure that you also focus on soil quality and effective disease management, which is crucial for maintaining healthy plants. If you need more information on this topic, check out effective disease management for plant diseases. By understanding the nuances of different garlic varieties, you can make tailored decisions that lead to a bountiful harvest, ultimately enhancing your culinary creations with fresh, homegrown garlic.
Step-by-Step Guide to Planting Garlic Cloves
To successfully grow garlic from cloves, you must begin with the right preparation and care. This step-by-step guide will ensure your garlic planting is efficient and productive. You’ll learn how to create the perfect environment for your garlic cloves, plant them effectively, and maintain them for a bountiful harvest. By following this guide, you’ll be well on your way to enjoying fresh garlic right from your garden! Garlic is not only a culinary staple but also a plant that can thrive in various conditions, making it an excellent choice for both novice and experienced gardeners.
Garlic is typically planted in the fall for a summer harvest, although spring planting is also possible in some regions. The timing of your planting can significantly affect the growth and flavor of your garlic. Therefore, understanding your local climate and the specific variety of garlic you are planting is crucial. In this guide, we will delve into the essential steps for planting garlic cloves, ensuring you have all the information needed for a successful crop.
Preparing the Soil
The first step in how to grow garlic from cloves involves preparing your soil. Garlic thrives in well-draining, loose soil rich in organic matter. Start by selecting a sunny location that receives at least six hours of sunlight daily. Next, test your soil’s pH; garlic prefers a slightly acidic to neutral pH of about 6.0 to 7.0. If your soil is too acidic, consider adding lime to raise the pH. To enrich your soil, incorporate compost or well-rotted manure into the top 12 inches. This not only improves nutrient content but also enhances drainage. After mixing in organic matter, till the soil thoroughly, ensuring it’s crumbly and free of large clumps. This preparation sets the stage for your garlic’s roots to develop effectively.
Additionally, consider performing a soil test to determine nutrient levels and deficiencies. This can guide you in selecting the right amendments to optimize growth. For instance, if your soil is low in nitrogen, adding a nitrogen-rich fertilizer can promote robust foliage, which is essential for photosynthesis and bulb development. Furthermore, if you are planting in a raised bed, ensure that the soil is at least 12 inches deep to accommodate the garlic’s root system. This attention to soil preparation will significantly enhance the health and yield of your garlic crop.
Planting Garlic Cloves
Once your soil is prepared, it’s time to plant the garlic cloves. Choose healthy cloves from a reputable source, preferably organic garlic, as these are more resilient and flavorful. Separate the cloves from the bulb, leaving the papery skins intact. Plant them with the pointed end facing upwards, about 2 to 3 inches deep, and spaced approximately 6 inches apart. This spacing allows each plant to grow without competing for nutrients. Moreover, planting in rows spaced about 12 inches apart can facilitate easier maintenance and harvesting later. As you plant, gently firm the soil around each clove to eliminate air pockets, ensuring good contact with the soil.
For additional success, consider planting different varieties of garlic, such as hardneck and softneck types, to diversify your harvest. Hardneck garlic tends to have a stronger flavor and is better suited for colder climates, while softneck garlic is typically more adaptable and has a longer shelf life. Furthermore, if you are planting in the fall, mulching with straw can help protect the cloves from extreme winter temperatures and prevent weed growth. For more detailed guidance on the planting process, check out How to Plant Garlic (Fall Garlic Planting).
Watering and Care
After planting, garlic care and maintenance become essential for healthy growth. Garlic requires consistent moisture, especially during its initial growth phase. However, be careful not to overwater; soggy soil can lead to rot. Water the plants deeply once a week, adjusting based on rainfall and soil conditions. As the garlic grows, mulch around the plants with straw or grass clippings to retain moisture and suppress weeds. Additionally, monitor for pests and diseases, such as garlic rust or onion thrips. If you notice any issues, act promptly with organic treatments or remove affected plants to prevent spread.
Moreover, fertilization plays a crucial role in garlic care. Applying a balanced fertilizer in early spring can provide the necessary nutrients for vigorous growth. As the bulbs start to mature, reduce watering to encourage curing, which enhances flavor and storage life. By following these care tips, your garlic will thrive, leading to a successful harvest. Remember, the effort you put into caring for your garlic will be rewarded with a flavorful and abundant crop that can elevate your culinary creations.
Common Garlic Planting Issues and Troubleshooting
Garlic planting can be a delightful endeavor, but sometimes, gardeners may encounter unexpected challenges. Whether you’re a novice or a seasoned gardener, understanding common garlic planting issues and their solutions is essential for a successful harvest. By addressing these problems early on, you can ensure that your garlic thrives and yields the best results. This section will help you identify potential pitfalls and provide effective troubleshooting garlic issues. Recognizing these challenges not only helps in maintaining plant health but also enhances your overall gardening experience, making it more rewarding.
Identifying Common Problems
Several problems can arise during the garlic planting process. For instance, you might notice yellowing leaves, which could indicate nutrient deficiencies or overwatering. Additionally, if your garlic bulbs are small or poorly developed, it may be due to insufficient sunlight or ineffective spacing. Furthermore, pests such as aphids or root maggots can wreak havoc on your plants if not addressed promptly. Recognizing these issues early will pave the way for effective solutions and a bountiful harvest. Below, we’ve compiled a table detailing some of the most common garlic planting problems and their corresponding solutions.
| Common Issues | Possible Causes | Solutions |
|---|---|---|
| Yellowing Leaves | Nutrient deficiency or overwatering | Adjust watering and fertilize |
| Small Bulbs | Insufficient sunlight or spacing | Ensure adequate sunlight and space |
| Pests (e.g., aphids) | Infestation | Use natural insecticides or introduce beneficial insects |
| Rotting Bulbs | Overwatering or poor drainage | Improve drainage and reduce watering |
| Fungal Diseases | Excess moisture | Water less and apply fungicides |
Effective Solutions for Garlic Issues
Once you’ve identified the problems, implementing effective solutions is crucial. For yellowing leaves, begin by assessing your watering habits and consider adding a balanced fertilizer to address nutrient deficiencies. Moreover, if your bulbs are small, review their spacing to ensure they’re receiving enough light and air circulation. Proper spacing not only allows for optimal growth but also minimizes competition for resources among the plants.
In the case of pest infestations, you may want to explore top pest prevention strategies to protect your plants naturally. These strategies can include introducing beneficial insects like ladybugs, which feed on aphids, or using neem oil as a natural pesticide. Additionally, if you notice signs of rot, it’s vital to check your soil’s drainage—improving it can prevent further rot issues. You can enhance drainage by incorporating organic matter, such as compost, into your soil. Lastly, for fungal diseases, reduce watering frequency and consider applying a fungicide as a preventive measure. Regularly rotating your garlic crops can also help mitigate the risk of fungal infections.
By staying vigilant about your garlic plants and addressing these common issues promptly, you can enjoy a robust and flavorful garlic harvest. Remember, effective garlic planting tips encompass not just planting but also recognizing and resolving potential challenges along the way. Additionally, keeping a gardening journal can be beneficial; it allows you to track what works and what doesn’t, helping you refine your approach in subsequent planting seasons. Thus, with the right knowledge and proactive measures, you can cultivate a thriving garlic garden that yields delicious results.
Harvesting Garlic: When and How to Do It
Harvesting garlic is an exciting milestone in the garlic cultivation process. Knowing when and how to harvest can significantly affect the quality of your garlic. Typically, garlic is ready for harvest in mid to late summer, approximately 8 to 9 months after planting. However, this timing can vary based on the variety and local climate conditions. Therefore, it’s essential to monitor the growth and appearance of your garlic plants to ensure a successful harvest.
Signs That Garlic is Ready to Harvest
One of the primary indicators that garlic is ready for harvesting is the condition of the leaves. When about one-third of the leaves have turned yellow or brown, it signals that the bulbs are maturing. Additionally, you can check the bulbs by gently digging around the base to see if they are firm and well-formed. If they feel soft or mushy, they likely need more time in the ground. Furthermore, if your garlic variety produces flower scapes, these should be removed early in the season. When the scapes start to curl or dry out, it indicates that the garlic is nearing readiness for harvest.
Proper Harvesting Techniques
Once you’ve determined that your garlic is ready, it’s crucial to employ proper harvesting techniques to avoid damaging the bulbs. Start by loosening the soil around the garlic bulbs using a garden fork or spade. Be careful not to stab the bulbs during this process. After loosening the soil, gently pull the garlic plants from the ground by their stems. It’s best to do this on a dry day to minimize the risk of rot. Once harvested, shake off any excess soil and lay the bulbs out in a single layer to dry in a cool, shaded area for two to three weeks. This curing process not only enhances the flavor but also extends the shelf life of your garlic. For more detailed steps on garlic planting and harvesting, check out How To Plant Garlic (And Elephant Garlic).
Bringing It All Together: Your Garlic Planting Journey
Ultimately, your garlic planting journey is an exciting and fulfilling endeavor that can yield delicious results. To summarize, understanding the essentials of selecting the right variety, preparing your soil, and maintaining proper planting depth and spacing are critical steps in ensuring a successful garlic harvest. Moreover, being attentive to your plants’ needs throughout their growth will enhance your experience and help you cultivate robust garlic. Regularly monitoring moisture levels and providing necessary nutrients can significantly contribute to the health of your plants.
Therefore, as you embark on this journey to plant garlic, remember that patience and care are key. With the right knowledge and a little effort, you’ll be rewarded with fresh, homegrown garlic that elevates your culinary creations. Clearly, the benefits extend beyond just flavor; gardening fosters a sense of accomplishment and connection to nature. It can also be a wonderful way to engage with family and friends, sharing the joys of gardening and the fruits of your labor.
Finally, don’t hesitate to start your garlic planting adventure today! Gather your supplies, choose your favorite garlic variety, and prepare your garden space. As you dig into this rewarding hobby, envision the countless dishes you can enhance with your very own garlic. Happy planting, and may your garlic thrive and bring flavor to your kitchen for years to come!